

SPI
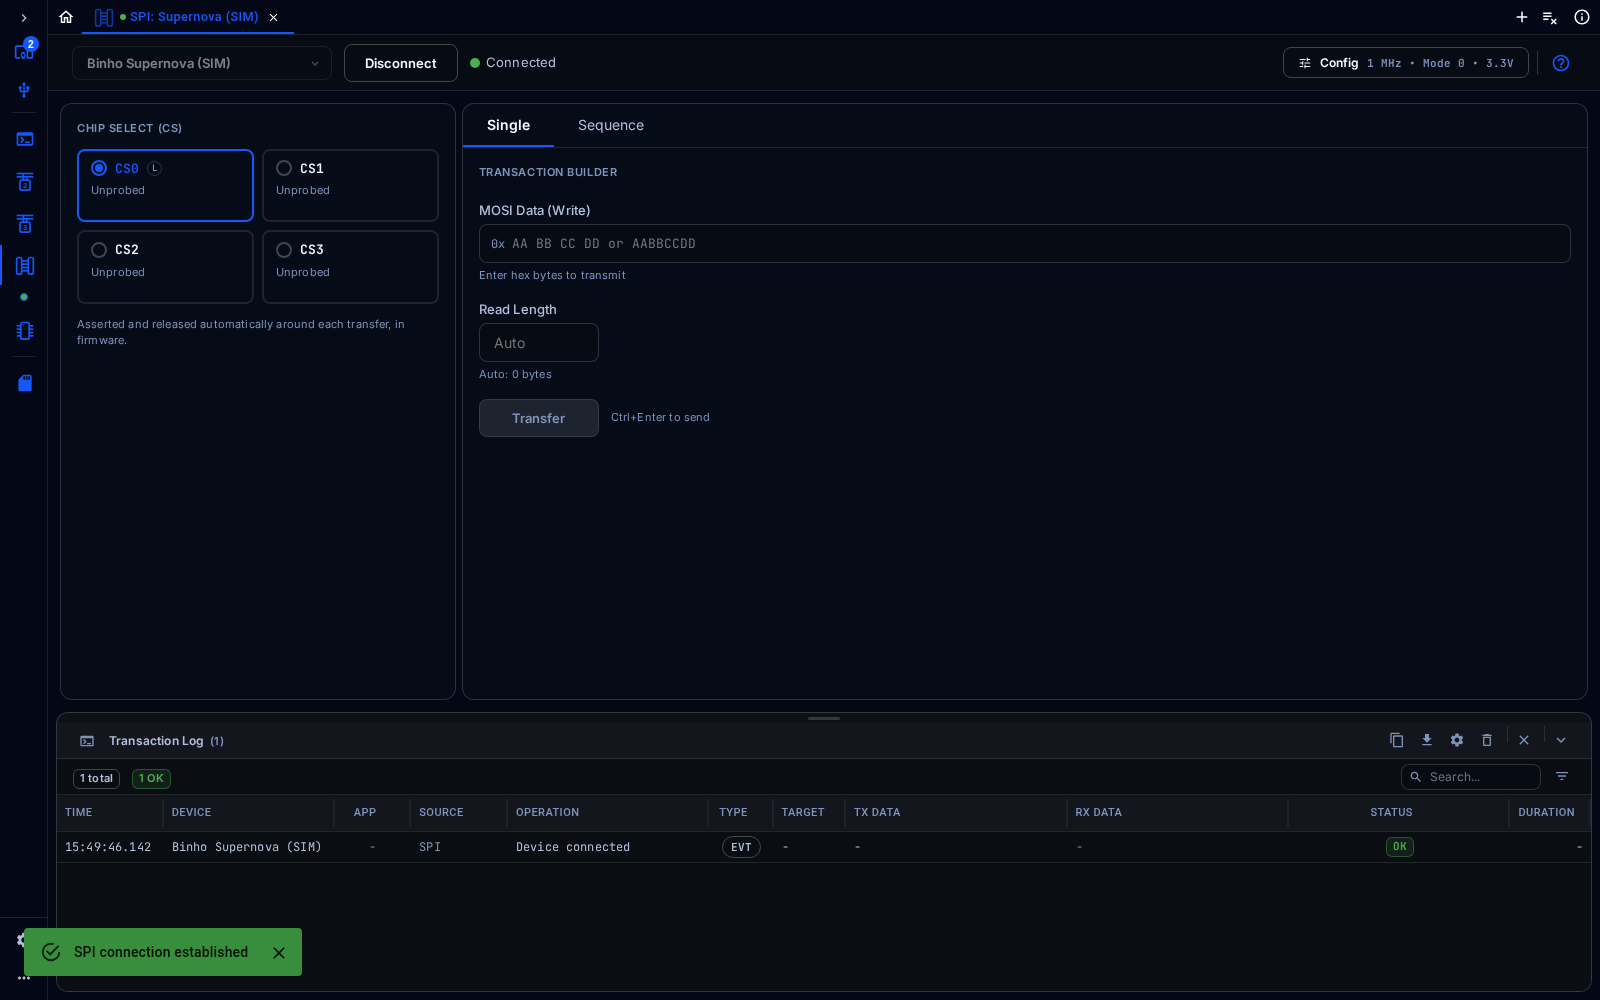
SPI tool connected to a simulated Supernova
The SPI tool runs SPI transfers, with the adapter as the controller.
Connect
Section titled “Connect”Choose the adapter from the device selector at the top left, then click Connect. In the web app, click Pair Device first to give the browser access to a real adapter, or pick a simulated device such as Binho Supernova (SIM) to try the tool without hardware. Config at the top right opens the settings for the bus.
Every tool shows the Transaction Log at the bottom: each command sent to the adapter, its data, its result and how long it took. It can be searched, filtered, copied and exported.
Configure
Section titled “Configure”In Config, set the bus frequency, the SPI mode (0 to 3), the bit order, the chip-select polarity and the target voltage (VTARG), then click Apply. The target voltage is shared with I2C, UART and GPIO on the same adapter.
Chip Select
Section titled “Chip Select”Choose CS0, CS1, CS2 or CS3. The adapter asserts the chip select before each transfer and releases it afterwards.
Transfer
Section titled “Transfer”In the Single tab, enter the bytes to send in MOSI Data (Write) and, if more bytes are expected back than are sent, a Read Length. Click Transfer, or press Ctrl+Enter. The bytes received on MISO appear in the Transaction Log. The Sequence tab builds multi-step sequences.